
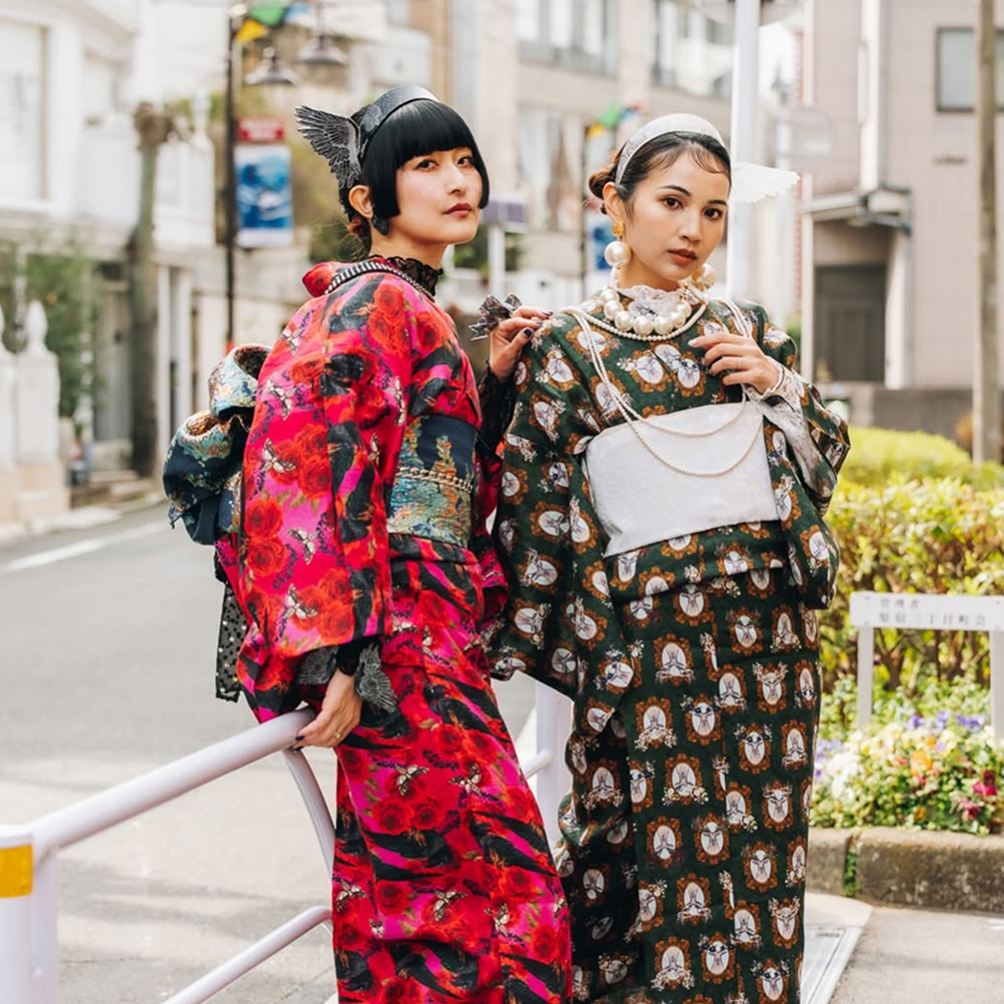
You've chosen your yukata. Now the obi is in one hand and you're staring at the mirror wondering which side goes over which. Don't worry — every first-timer feels exactly this way. The good news is that wearing a yukata correctly takes about three minutes once you know the order. Here's everything you need.
Before you start
Lay the yukata on a flat surface and check the hem length. When worn, the hem should sit just above the ankle — if yours is too long, fold the excess inward at the waist (this fold is called the ohashori). Most ready-to-wear yukata from Robe Japonica are pre-sized, so this step is usually quick.
- Stand in front of a full-length mirror if possible
- Have your obi and koshihimo (a thin cord) within reach
- Wear a thin cotton undershirt if you prefer — in summer heat, most people go without
Step 1 — Wrap left over right
This is the single most important rule: left side always goes over right. Right over left is reserved for funeral dress and is considered bad luck in everyday wear. Wrap the right side of the yukata around your body first, then bring the left side over the top.
Align the hem so it sits evenly at the ankle. Hold the collar closed at your chest while you reach for the koshihimo.
"Left over right — if you remember nothing else about wearing a yukata, remember this."
Step 2 — Secure with the koshihimo
Tie the thin cord (koshihimo) around your waist over the yukata to hold everything in place. The knot sits at the front or side — wherever it's comfortable. Adjust the ohashori (the fold at the waist) so the fabric hangs evenly and the hem skims the ankle.
If the fabric feels too full at the waist, smooth it down around the sides and back before tying. A little unevenness is perfectly fine — yukata are intentionally relaxed garments.
Step 3 — Tie the obi
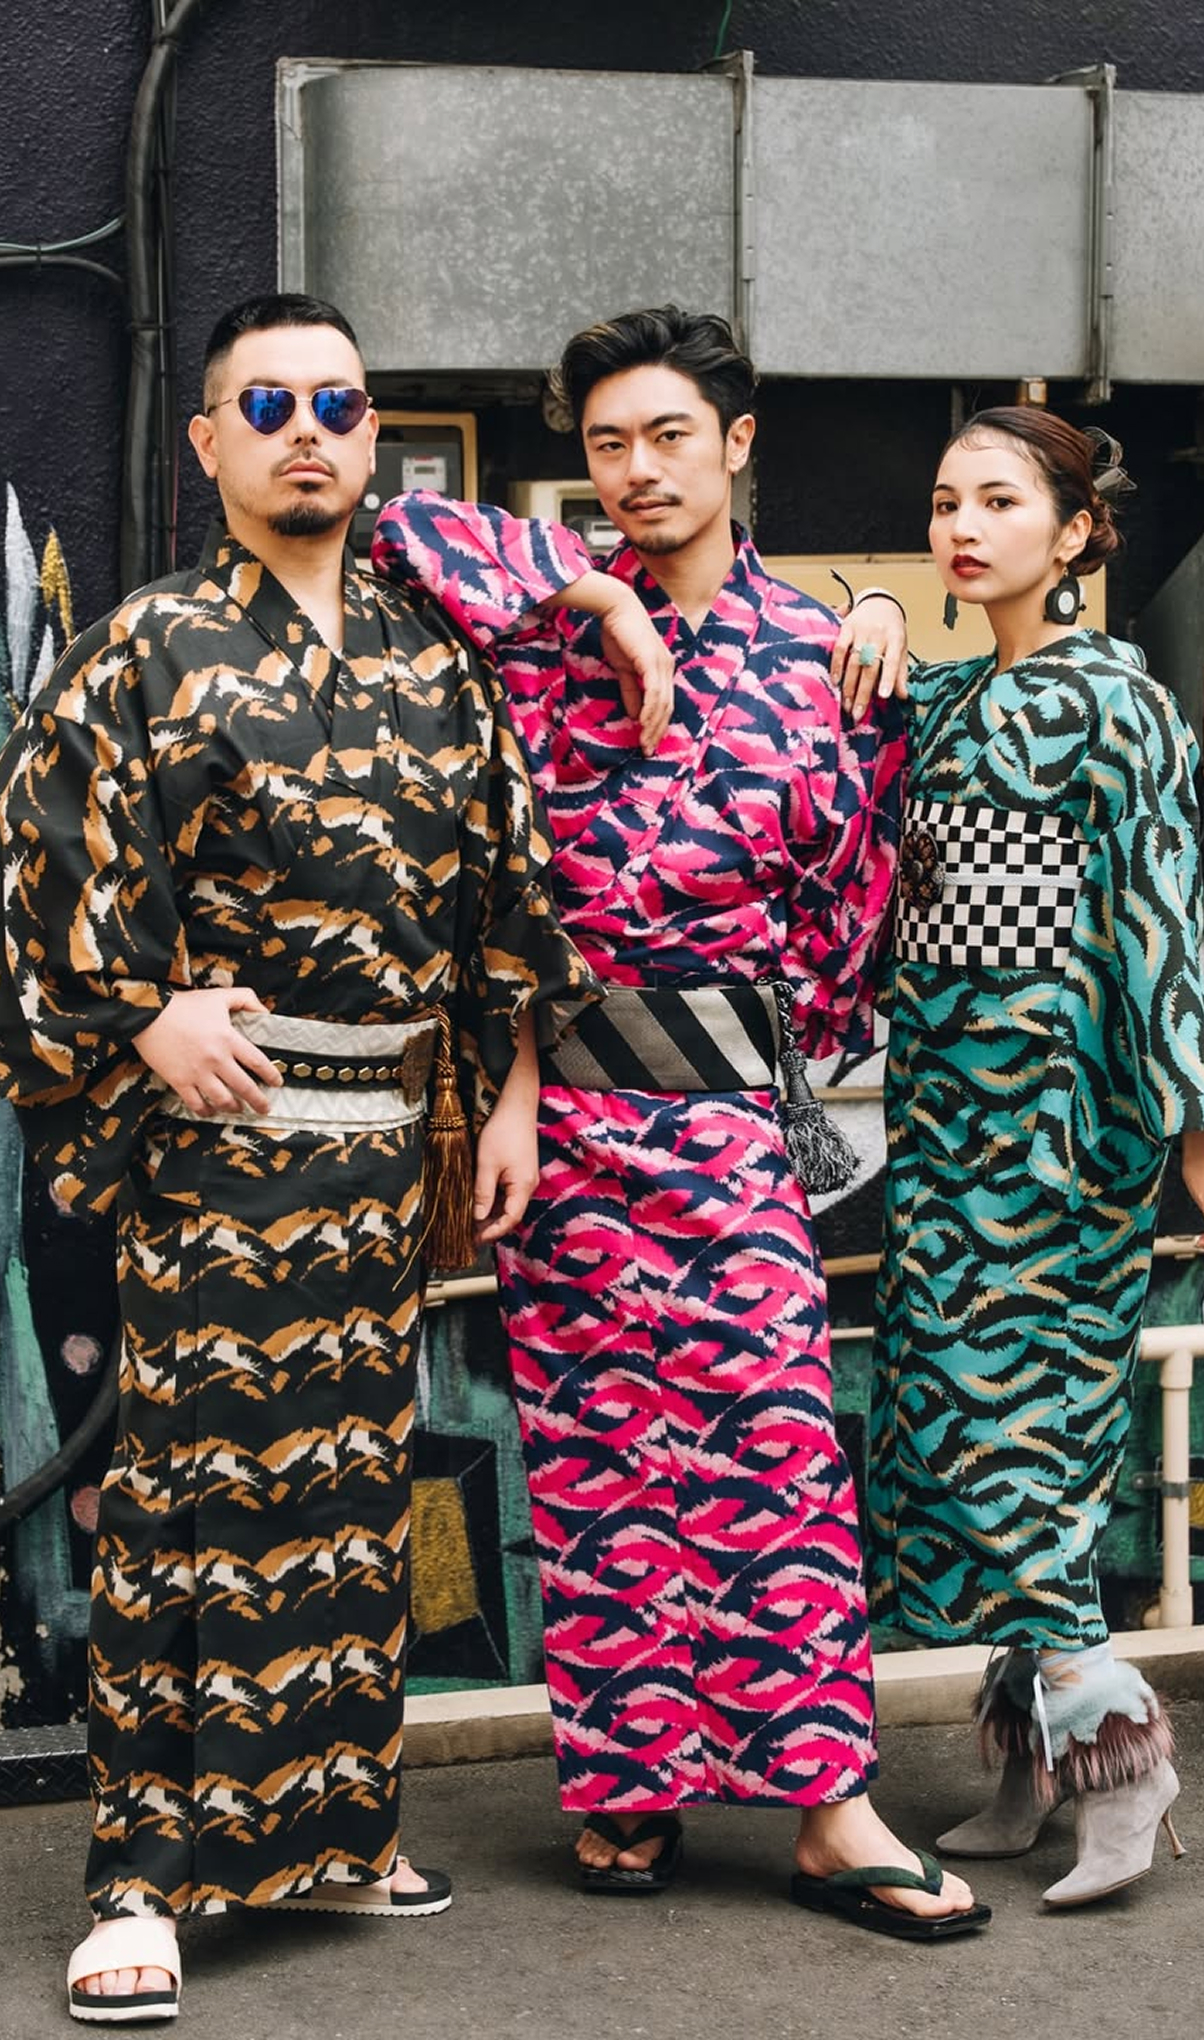
The obi (sash) is the finishing touch. For a simple everyday knot, try the bunko musubi (bow tie) — it works for any gender and can be done solo in under two minutes.
- Fold the obi in half lengthways so it's about 15 cm wide
- Wrap it twice around your waist with the fold facing down
- Tie a simple bow at the back
- Rotate the bow around to the back if tying it at the front is easier
For a more polished look, ask one of our staff in store — a proper knot takes about 90 seconds with practice. We include a short illustrated guide with every purchase, and we offer a free tying lesson at checkout.
Walking comfortably
The key to walking gracefully in a yukata is smaller steps. The fabric naturally limits your stride, and working with that — rather than against it — makes movement feel effortless. Keep your arms slightly at your sides and let the sleeves fall naturally.
If the collar starts to slip open at the chest, a small clip (available at any 100-yen shop) tucked inside will hold it in place discreetly.
A note on the collar
The collar should form a gentle V at the chest — not too wide, not too closed. For women, the back of the collar is typically worn slightly pulled down to expose a little of the nape. For men, the collar is worn closer to the neck. Both are about personal comfort as much as convention.
That's it. Three steps, one rule (left over right), and a simple bow. If you're visiting our store in Jingumae, we're happy to dress you from scratch — every purchase includes a complimentary fitting and dressing session, in English, with no rush.